Markdown Basic Syntax: Complete Guide with Examples
Master every Markdown basic syntax element with clear examples and common mistakes to avoid. Your definitive reference for headings, lists, links, and more.
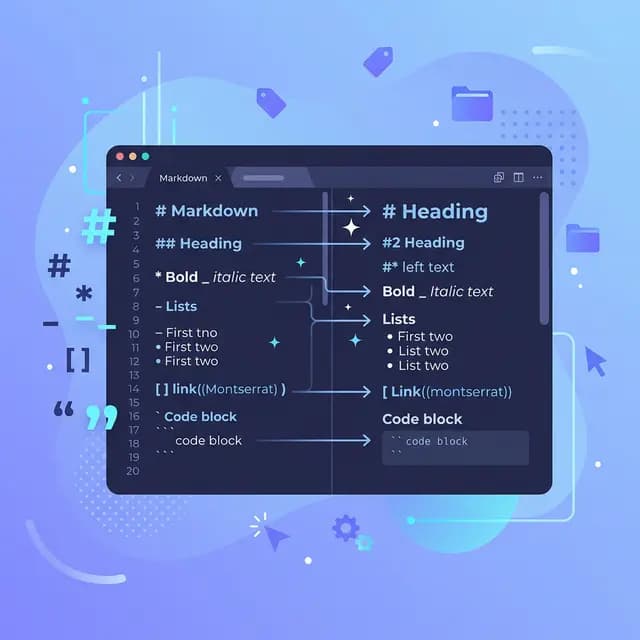
Markdown basic syntax is the foundation every developer, writer, and content creator needs to master. Whether you're writing documentation, crafting a blog post, or formatting a GitHub issue, these core elements are the building blocks you'll reach for every single day.
This guide walks through every basic syntax element with clear examples, HTML output comparisons, and common mistakes to avoid. Bookmark it — you'll come back to it more often than you think.
Headings
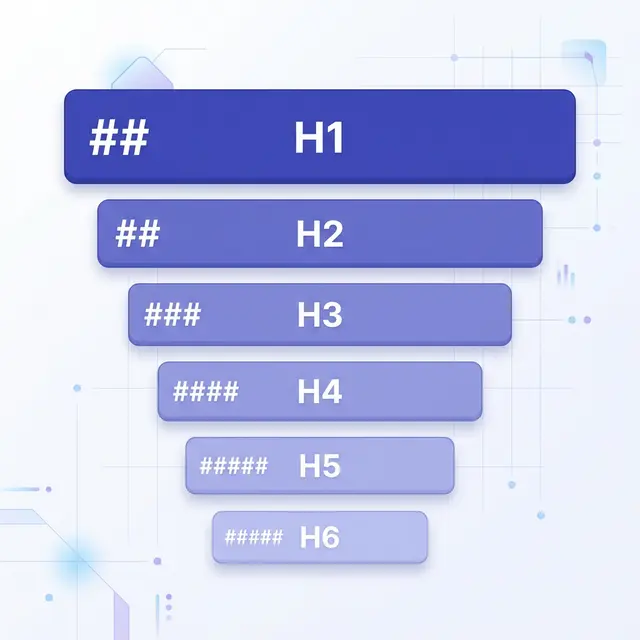
Headings structure your content into a logical hierarchy. Markdown supports six levels of headings, created by placing # symbols before your text.
# Heading Level 1
## Heading Level 2
### Heading Level 3
#### Heading Level 4
##### Heading Level 5
###### Heading Level 6
This produces the following HTML:
<h1>Heading Level 1</h1>
<h2>Heading Level 2</h2>
<h3>Heading Level 3</h3>
<h4>Heading Level 4</h4>
<h5>Heading Level 5</h5>
<h6>Heading Level 6</h6>
Heading Best Practices
Always add a space between the # and the heading text. Without the space, some parsers won't recognize it as a heading.
✅ ## This Works
❌ ##This Doesn't
Use headings in order. Don't skip from H2 to H4 — this breaks the logical document outline and hurts both accessibility and SEO. Think of headings as a table of contents: each level should nest logically under the one above it.
Use only one H1 per page. The H1 is your page title. Everything else should be H2 or below.
Paragraphs and Line Breaks
Paragraphs are the simplest Markdown element — just write text. Separate paragraphs with a blank line.
This is the first paragraph.

This is the second paragraph.
Line Breaks
Here's where many beginners get tripped up. Pressing Enter once does not create a new line in most Markdown renderers. You need to either:
- End a line with two or more spaces (then press Enter)
- Use the
<br>HTML tag
This is the first line.
This is the second line.

Or use HTML:<br>
This starts a new line.
Common Mistake
Simply pressing Enter between two lines will merge them into one paragraph in the rendered output:
Line one
Line two
This renders as: "Line one Line two" — a single line. Always use a blank line for a new paragraph or trailing spaces for a line break within the same paragraph.
Text Formatting
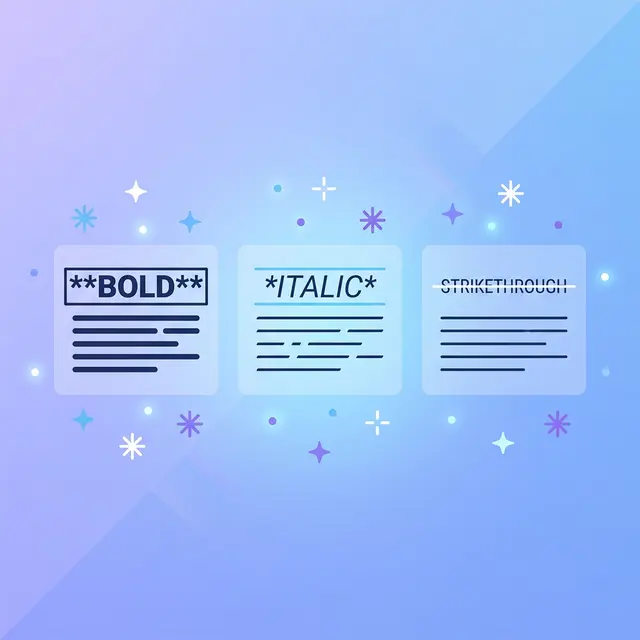
Markdown makes it effortless to emphasize text. Here are the core formatting options:
Bold
Wrap text in double asterisks or double underscores:
**This is bold text**
__This is also bold__
HTML output: <strong>This is bold text</strong>
Italic
Wrap text in single asterisks or single underscores:
*This is italic text*
_This is also italic_
HTML output: <em>This is italic text</em>
Bold and Italic
Combine three asterisks for both:
***Bold and italic***
___Also bold and italic___
**_Or mix like this_**
HTML output: <strong><em>Bold and italic</em></strong>
Strikethrough
Use double tildes (this is a GFM extension, but supported almost everywhere):
~~This text is crossed out~~
HTML output: <del>This text is crossed out</del>
Common Mistake
Mixing underscores in the middle of a word doesn't work reliably. Stick with asterisks for mid-word emphasis:
✅ This is**very**important
❌ This is__very__important
Blockquotes
Blockquotes are created with the > character. They're commonly used for quoting sources, highlighting important notes, or calling out key information.
> Markdown is intended to be as easy-to-read and easy-to-write as is feasible.
> — John Gruber
HTML output:
<blockquote>
  <p>Markdown is intended to be as easy-to-read and easy-to-write as is feasible.
  — John Gruber</p>
</blockquote>
Multi-Paragraph Blockquotes
Add > on the blank line between paragraphs:
> First paragraph of the quote.
>
> Second paragraph of the quote.
Nested Blockquotes
Use >> for nesting:
> This is the outer quote.
>
>> This is a nested quote inside it.
Blockquotes with Other Elements
You can combine blockquotes with other Markdown formatting:
> ### A Heading Inside a Quote
>
> - List item one
> - List item two
>
> Text with **bold** and *italic* formatting.
Lists

Lists are one of the most frequently used Markdown elements. You'll encounter three types: unordered, ordered, and task lists.
Unordered Lists
Use -, *, or + as markers. Pick one and stick with it for consistency:
- First item
- Second item
- Third item
HTML output:
<ul>
  <li>First item</li>
  <li>Second item</li>
  <li>Third item</li>
</ul>
Ordered Lists
Use numbers followed by a period. The actual numbers don't matter — Markdown auto-numbers them:
1. First step
2. Second step
3. Third step
Interestingly, this produces the same output:
1. First step
1. Second step
1. Third step
Both render as a properly numbered 1-2-3 list. However, best practice is to use sequential numbers for readability in the source file.
Nested Lists
Indent with two or four spaces to create sub-lists:
1. Main item
   - Sub-item A
   - Sub-item B
     - Sub-sub-item
2. Another main item
Task Lists
Task lists (a GFM feature) use - [ ] for unchecked and - [x] for checked items:
- [x] Write the draft
- [x] Add code examples
- [ ] Proofread the article
- [ ] Publish
Common Mistake
Forgetting the blank line before a list when it follows a paragraph. Some parsers require it:
✅ Here is my list:

- Item one
- Item two

❌ Here is my list:
- Item one
- Item two
Code
Displaying code is one of Markdown's strongest features, and getting it right matters for readability.
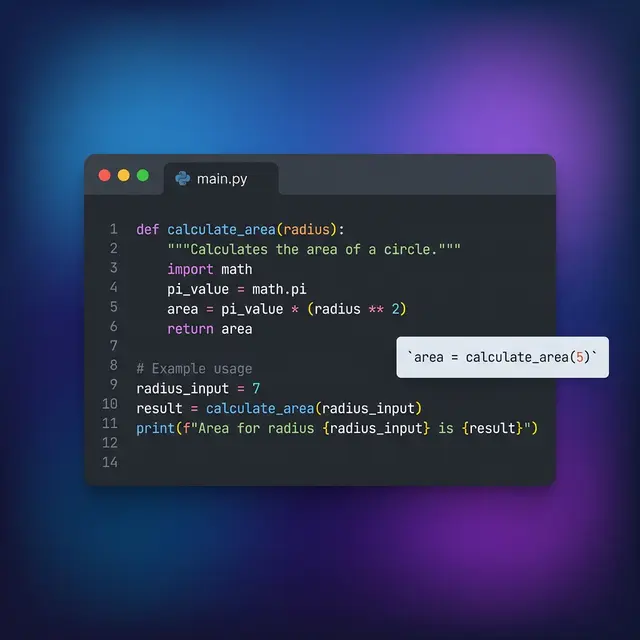
Inline Code
Wrap code in single backticks for inline display:
Use the `print()` function to output text.
HTML output: Use the <code>print()</code> function to output text.
If your code itself contains a backtick, use double backticks:
``There is a literal `backtick` here.``
Code Blocks
For multi-line code, use triple backticks (fenced code blocks) with an optional language identifier for syntax highlighting:
```javascript
function greet(name) {
  return `Hello, ${name}!`;
}
```
The language identifier (javascript, python, html, css, bash, etc.) enables syntax highlighting in most renderers. Always include it — it dramatically improves readability.
Indented Code Blocks
You can also create code blocks by indenting every line with four spaces or one tab:
    function add(a, b) {
      return a + b;
    }
However, fenced code blocks are strongly preferred because they support syntax highlighting and don't require every line to be indented.
Links
Links are essential for connecting content. Markdown supports several link formats.
Inline Links
The most common format — text in brackets, URL in parentheses:
[Visit Example](https://example.com)
HTML output: <a href="https://example.com">Visit Example</a>
Links with Titles
Add a title in quotes after the URL (appears as a tooltip on hover):
[Visit Example](https://example.com "Example Website")
Reference-Style Links
For cleaner source text when you have many links, use reference-style:
I use [Google][1] and [GitHub][2] daily.

[1]: https://google.com "Google"
[2]: https://github.com "GitHub"
This keeps your paragraphs clean and groups all URLs at the bottom — especially useful in long documents.
Automatic Links
Wrap a URL or email in angle brackets for auto-linking:
<https://example.com>
<contact@example.com>
Most modern renderers (like GitHub) also auto-link raw URLs without angle brackets, but using them ensures compatibility.
Common Mistake
Forgetting that spaces in URLs need encoding. Use %20 for spaces:
✅ [My Doc](files/my%20document.pdf)
❌ [My Doc](files/my document.pdf)
Images

Images use the same syntax as links, but with an exclamation mark ! in front:

HTML output: <img src="/path/to/image.webp" alt="Alt text describing the image">
Images with Titles

Linked Images
Combine link and image syntax to make an image clickable:
[](https://example.com)
Alt Text Best Practices
Always write descriptive alt text. It serves two critical purposes:
- Accessibility — screen readers use it to describe images to visually impaired users
- SEO — search engines use it to understand image content
✅ 
❌ 
❌ 
Horizontal Rules
Create a horizontal line (thematic break) to visually separate sections. Use three or more dashes, asterisks, or underscores:
---
***
___
All three produce the same HTML: <hr>
Best practice: Use --- consistently and always add blank lines before and after:
Content above the rule.

---

Content below the rule.
Escaping Characters
What if you want to display a literal asterisk or hash symbol without triggering Markdown formatting? Use a backslash \ before the character:
\* This is not italic \*
\# This is not a heading
\- This is not a list item
Here's the full list of characters you can escape:
\   Backslash
`   Backtick
*   Asterisk
_   Underscore
{}  Curly braces
[]  Square brackets
()  Parentheses
#   Hash
+   Plus sign
-   Hyphen
.   Dot
!   Exclamation mark
|   Pipe
Quick Reference Cheat Sheet
Here's every basic syntax element in one table for fast lookup:
Element Syntax HTML
-------------- ------------------ -----------
Heading 1 # Text <h1>
Heading 2 ## Text <h2>
Heading 3 ### Text <h3>
Bold **text** <strong>
Italic *text* <em>
Bold + Italic ***text*** <strong><em>
Strikethrough ~~text~~ <del>
Blockquote > text <blockquote>
Ordered list 1. item <ol><li>
Unordered list - item <ul><li>
Inline code `code` <code>
Link [text](url) <a href>
Image  <img>
Horizontal rule --- <hr>
Line break spaces + Enter <br>
Put It Into Practice
Now that you've learned every Markdown basic syntax element, it's time to use it. Here's what to do next:
-
Practice writing: Create a
notes.mdfile and try each syntax element. The more you write, the more natural it becomes. -
Use a preview tool: VS Code's built-in Markdown preview (
Ctrl+Shift+V/Cmd+Shift+V) lets you see rendered output in real time as you type. -
Convert and share: When your Markdown document is ready for the world, transform it into polished output — convert Markdown to HTML for web publishing, generate a PDF for print-ready documents, or export to Word for collaborative editing.
-
Explore further: Once you're comfortable with basic syntax, dive into our Markdown extended syntax guide for tables, footnotes, definition lists, and more. New to Markdown entirely? Start with What is Markdown for the big picture.
The beauty of Markdown is that these basic elements cover the vast majority of everything you'll ever need to write. Master them once, and you'll use them everywhere — from GitHub to Notion, from documentation to blog posts like this one.